DB2 Throttle Cable Instructions
Overview
start off with buying one of Quadstar Tunings NEW throttle cables!
https://quadstartuning.com/products/6-5l-db2-throttle-cable
Removal
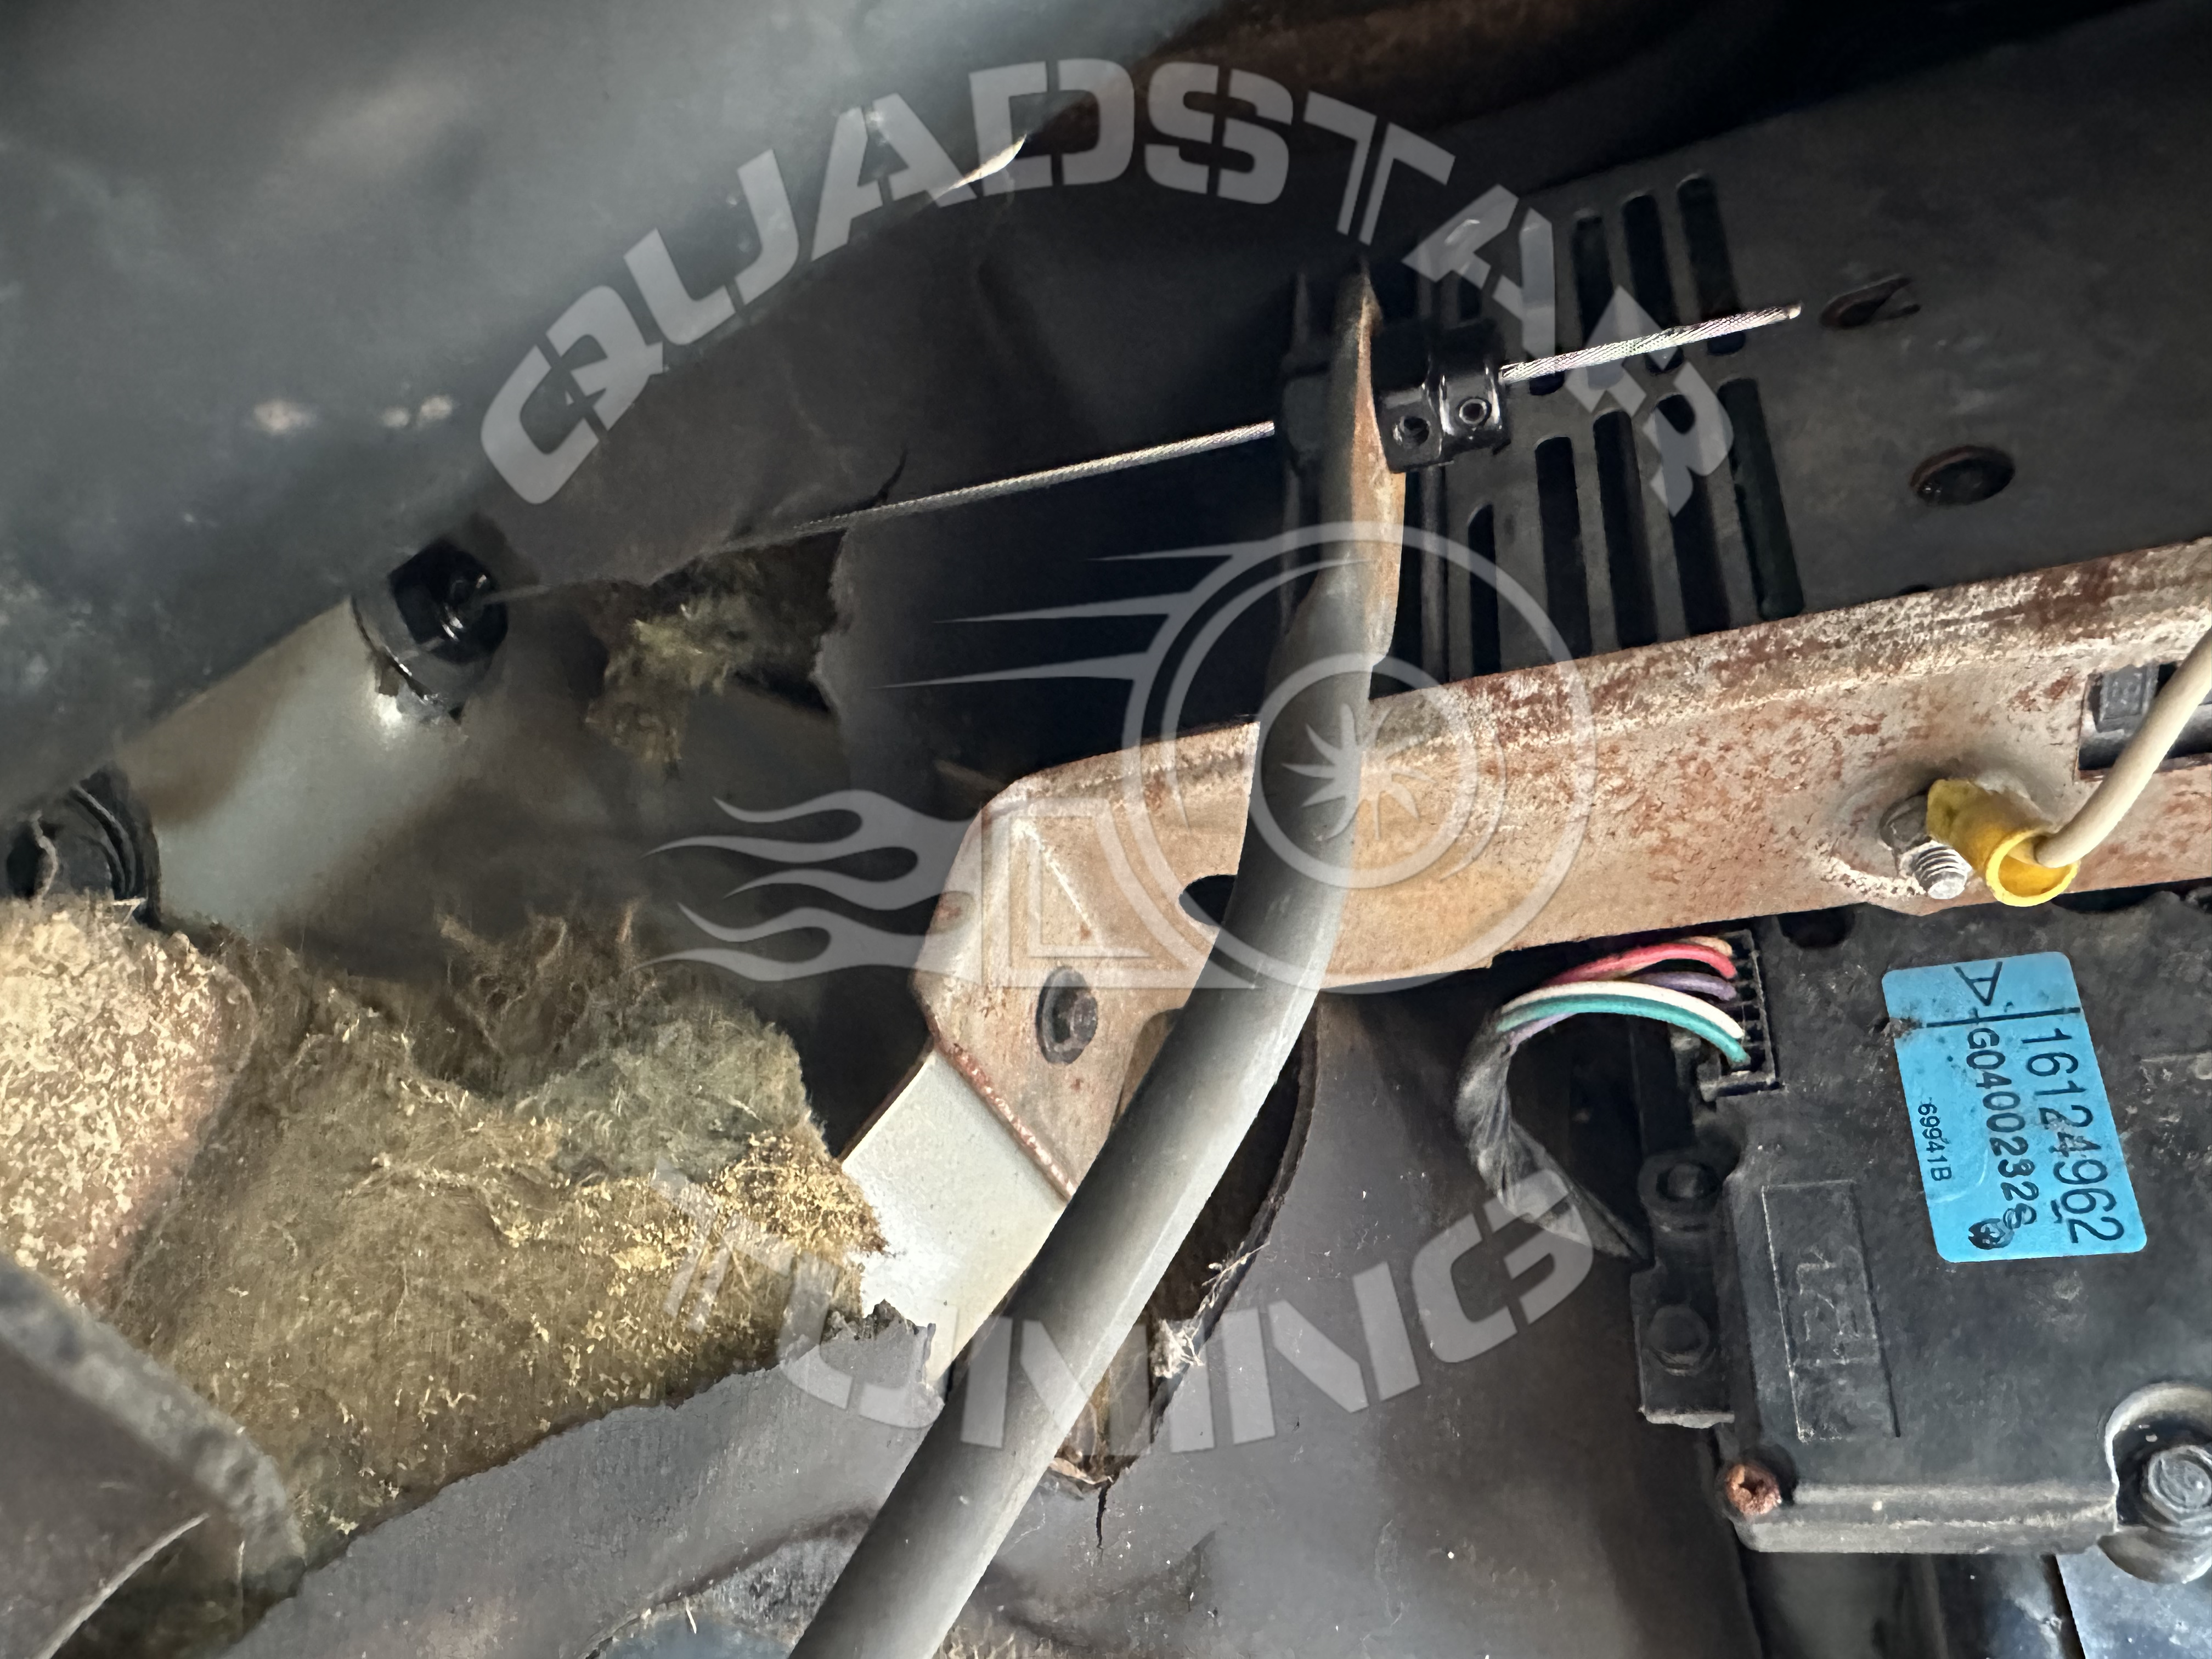
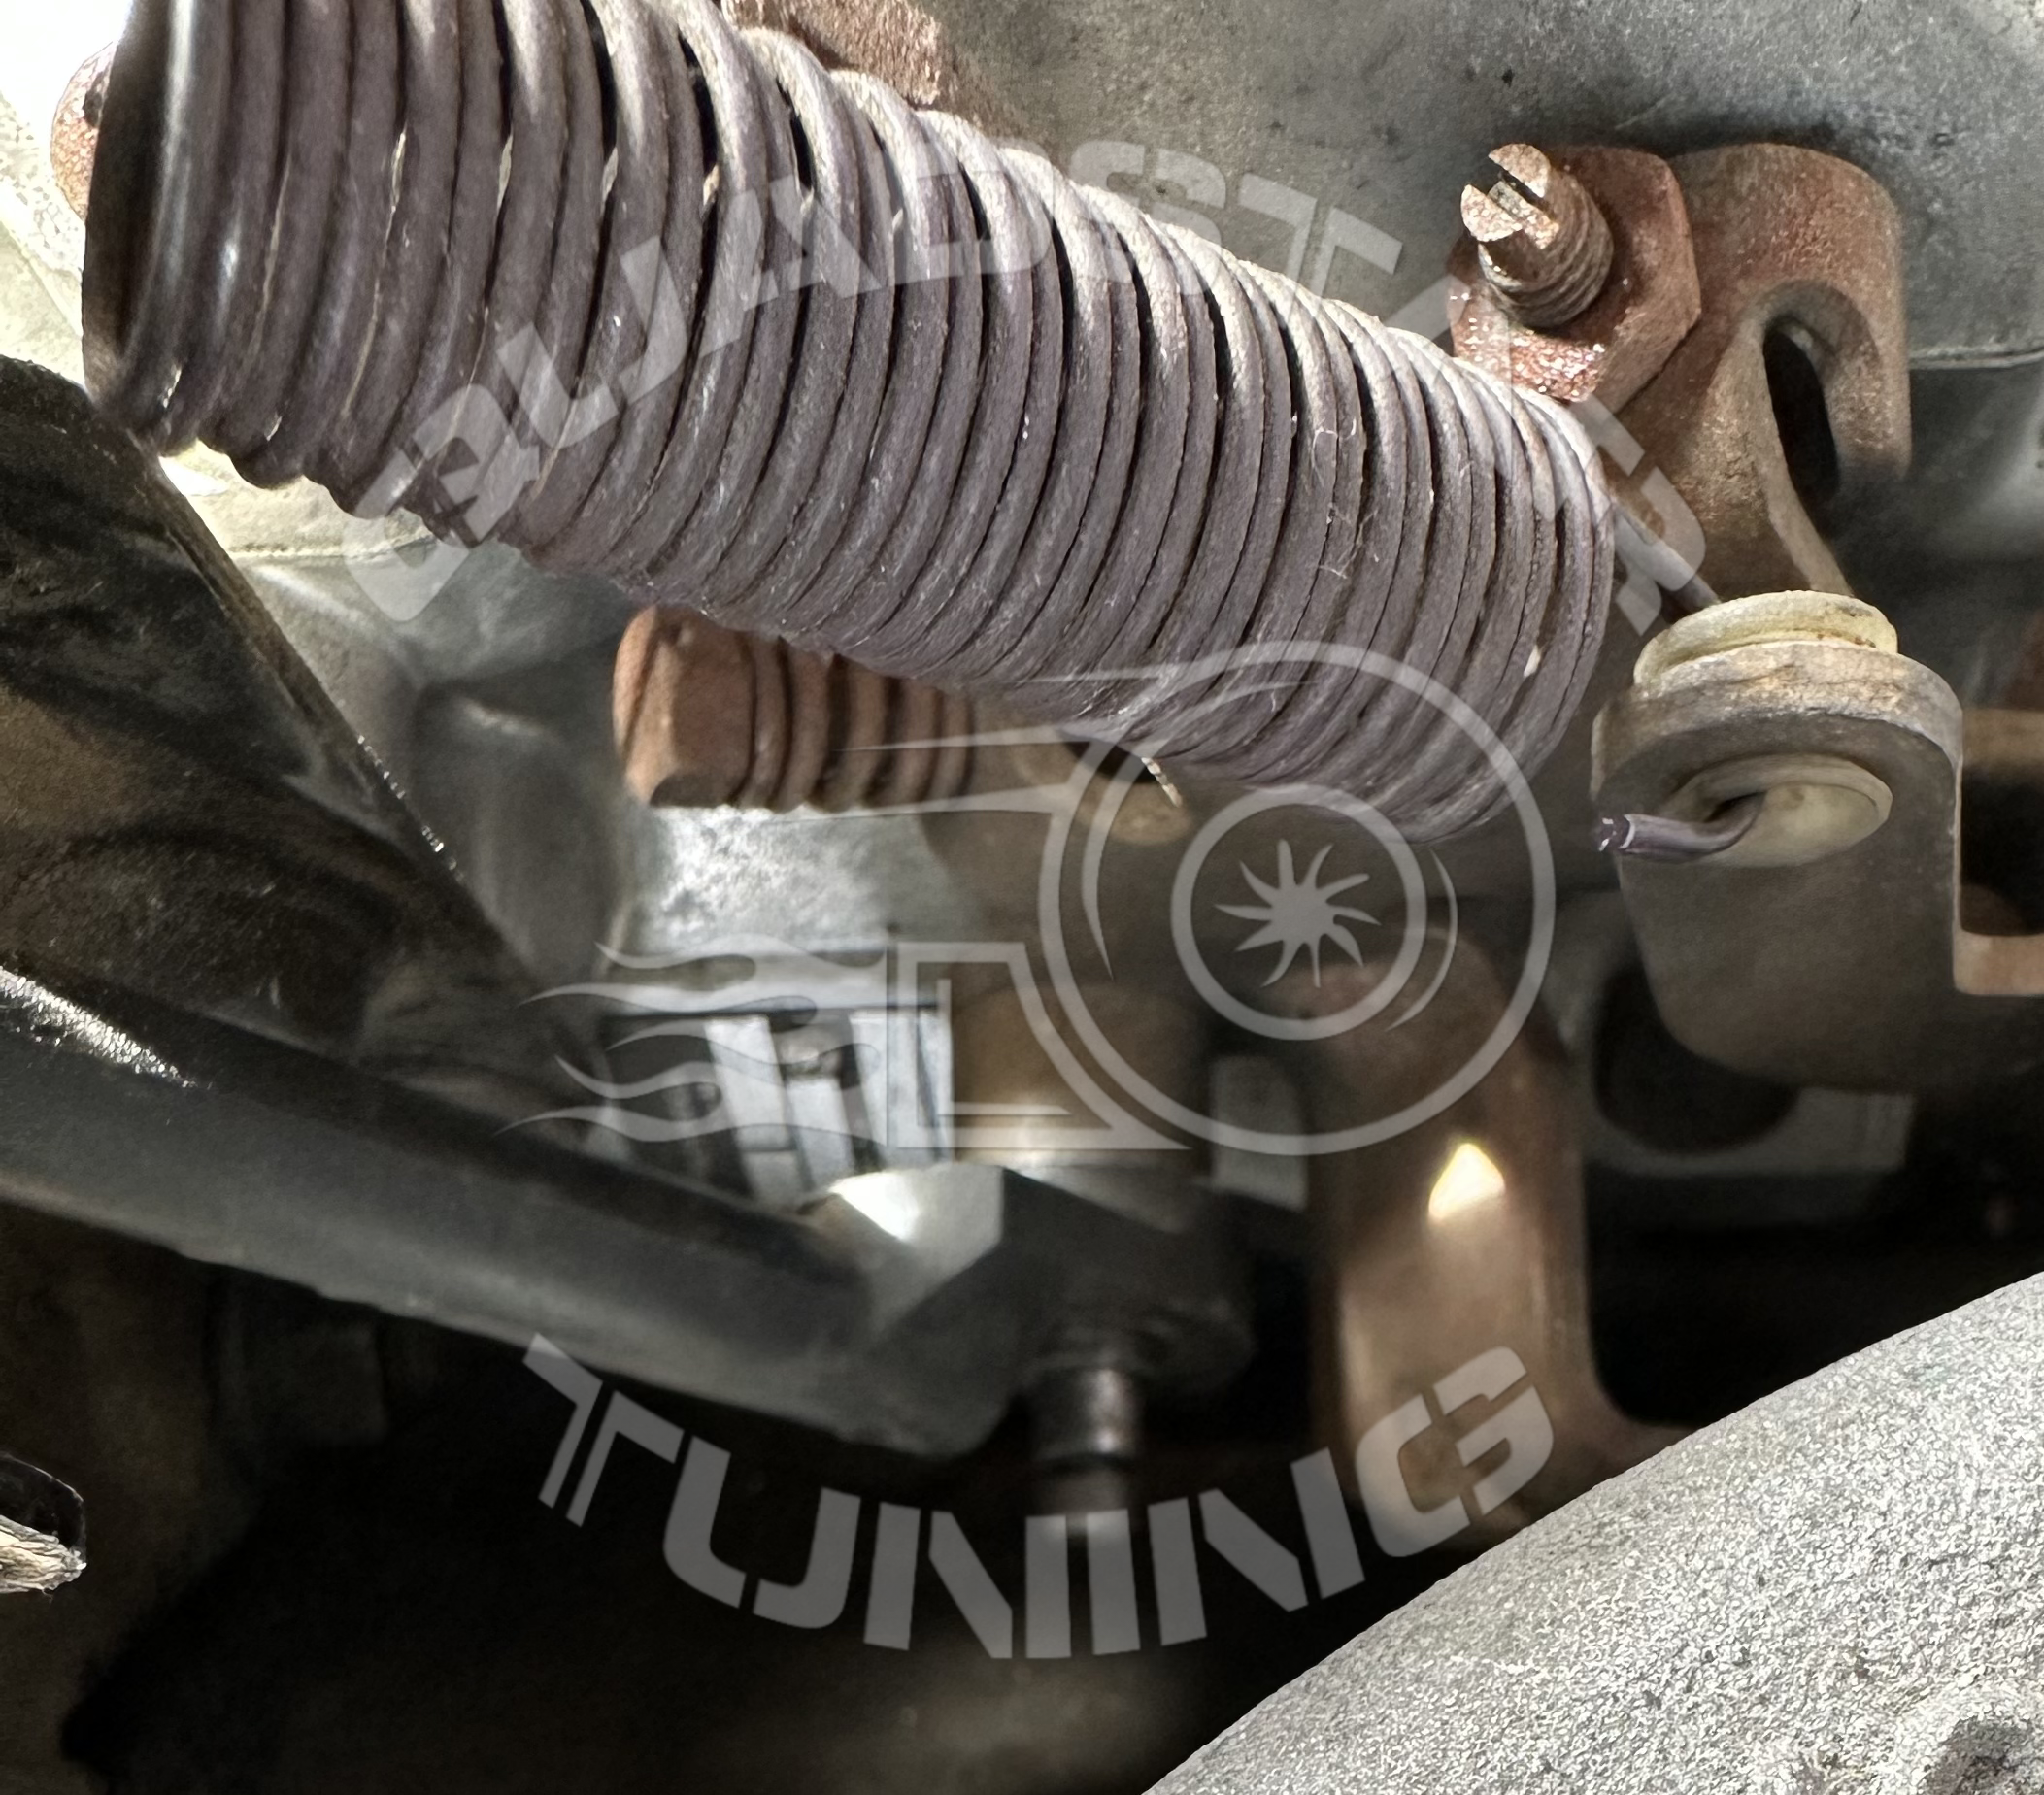
Remove the clip that holds the factory throttle cable to the injection pump throttle shaft
Release the factory cable from the retainer bracket on the pump. Pull it up and out.
Release any plastic clamps or wire ties that are holding the cable in the engine bay
Remove the throttle pedal
3x 10mm bolts
It is much easier to do both the removal and installation with the pedal removed so you can get to the connection at the top of the pedal easier
Release the clips holding the factory cable to the firewall and push it back into the engine bay
Removal is now complete
Once you get the old cable off you will be at the point where you need to decide if you are installing with or without cruise control.
If you are not installing a cruise cable then skip the next section
Modify Cruise Control Cable
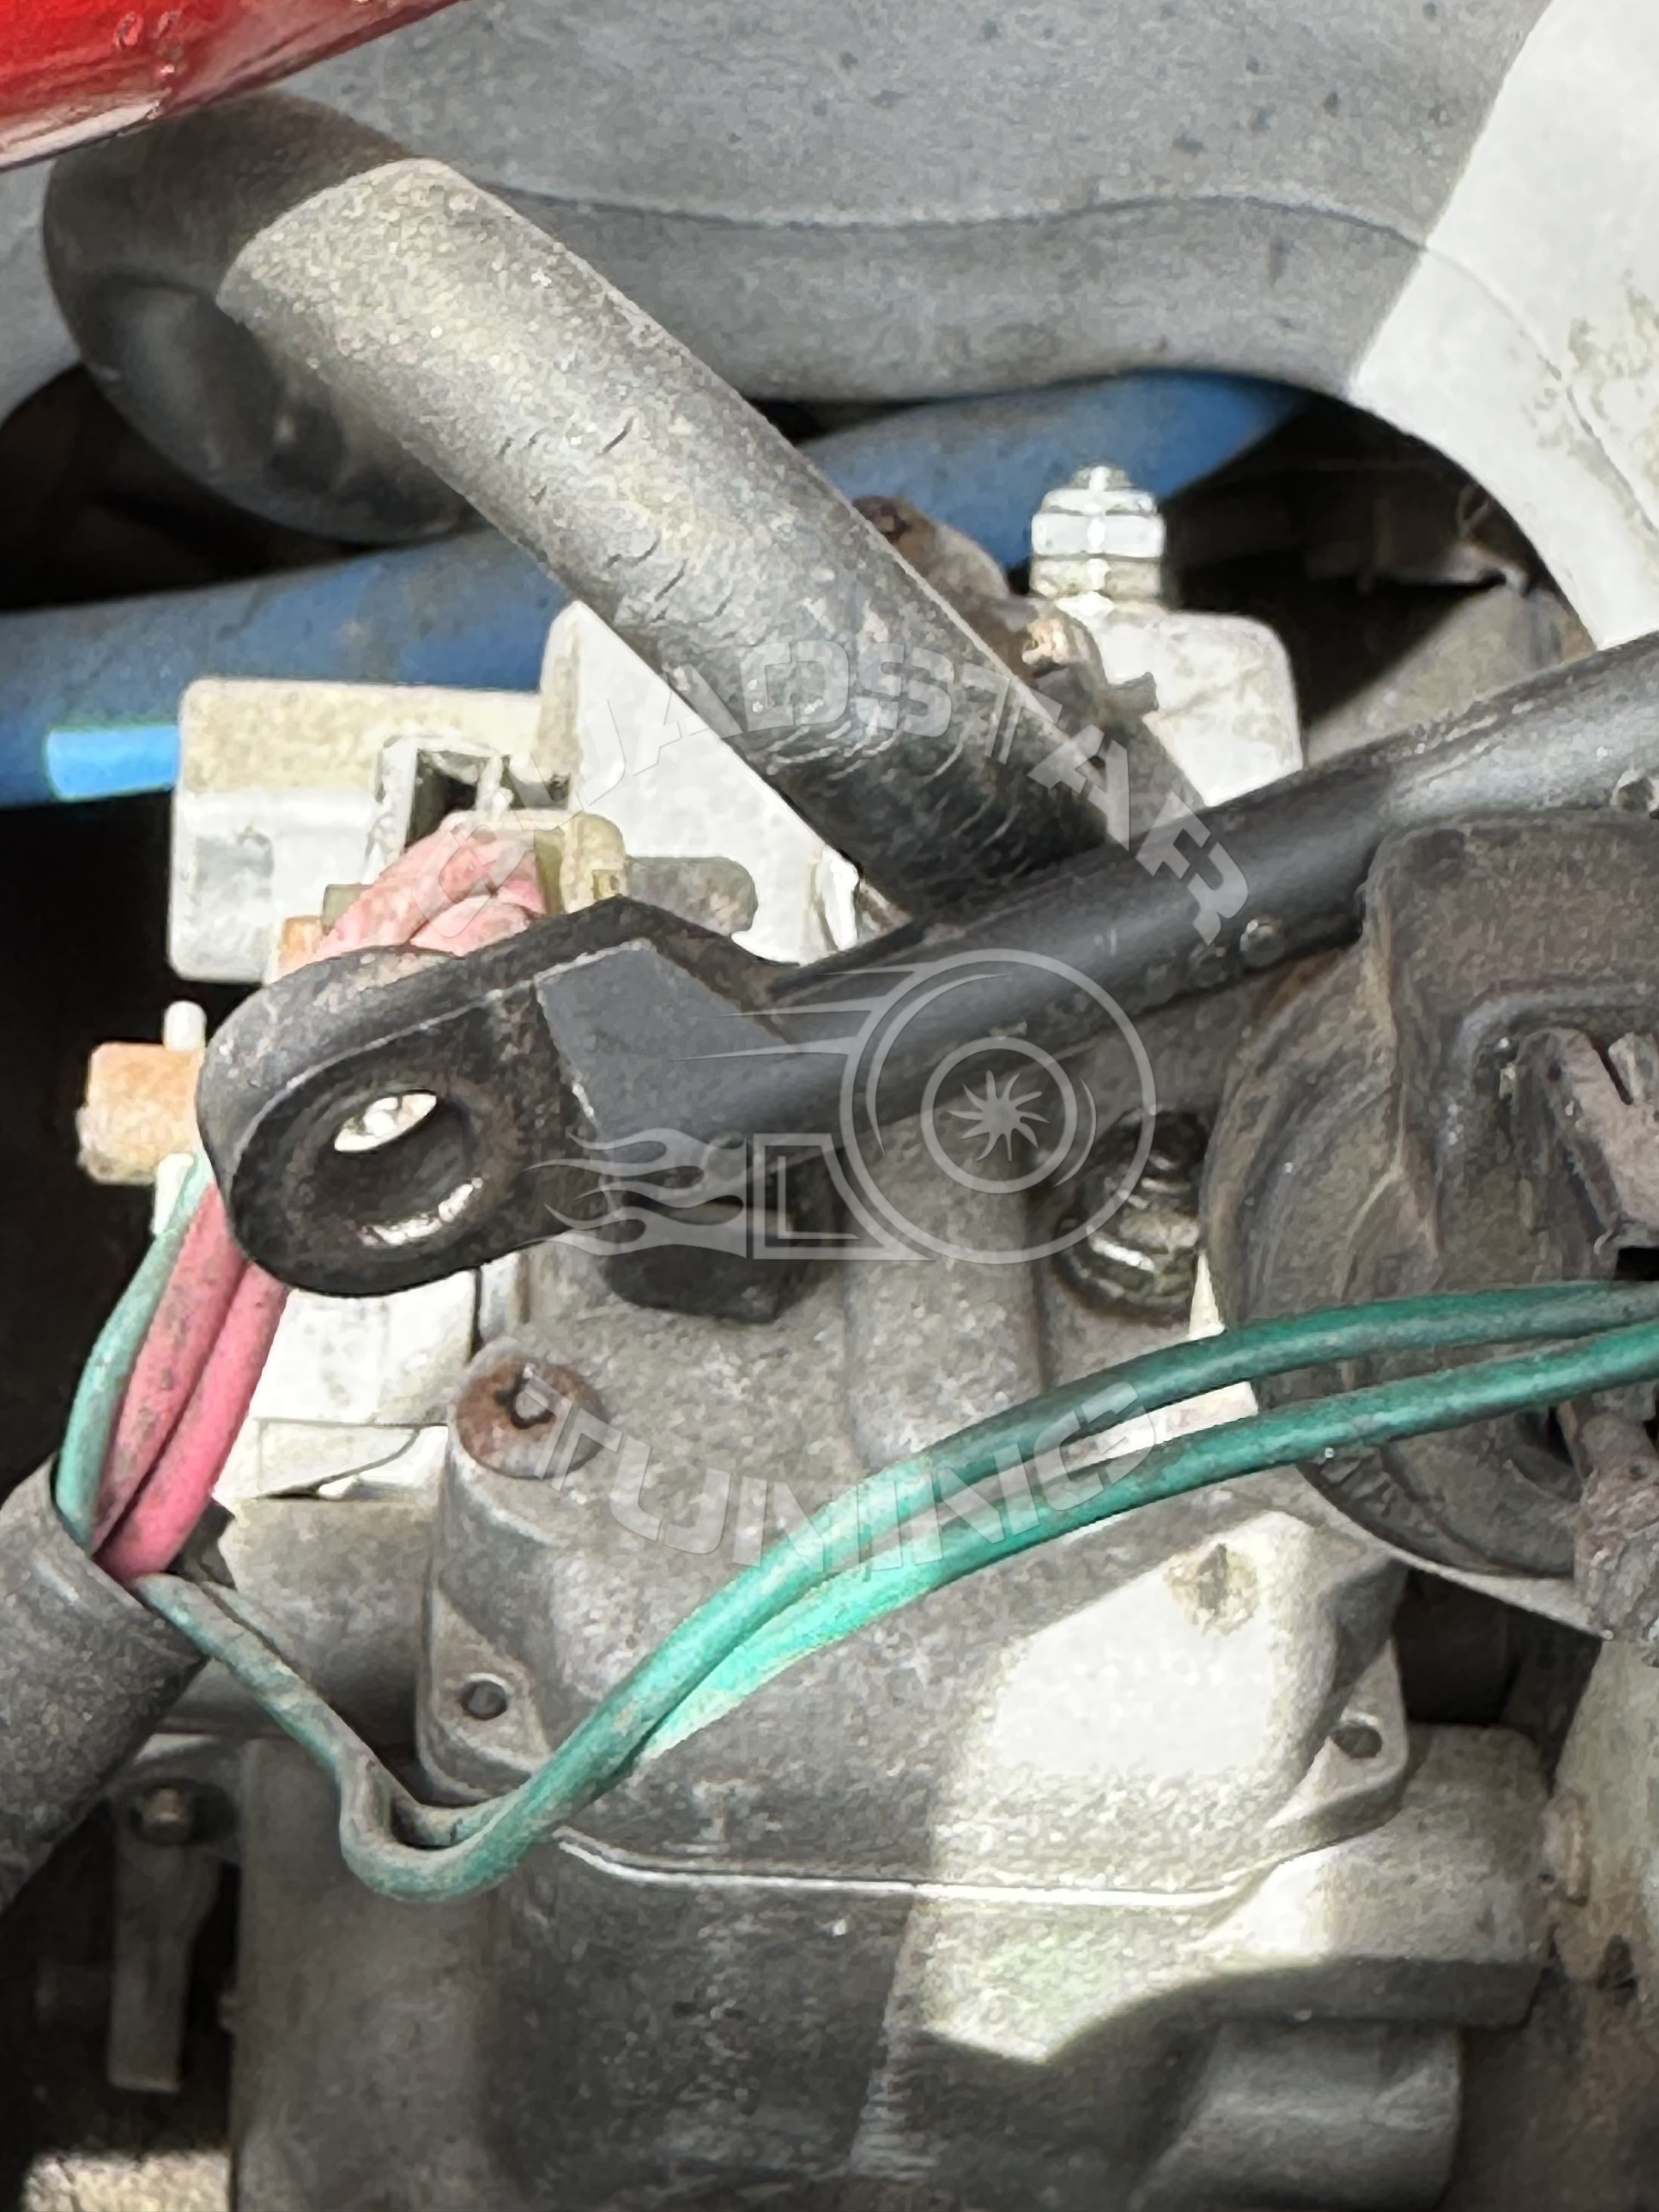
If you are installing a cruise cable, you will need to slightly modify the original cruise cable end. As you can see below, this black plastic cable end is your cruise control cable end.
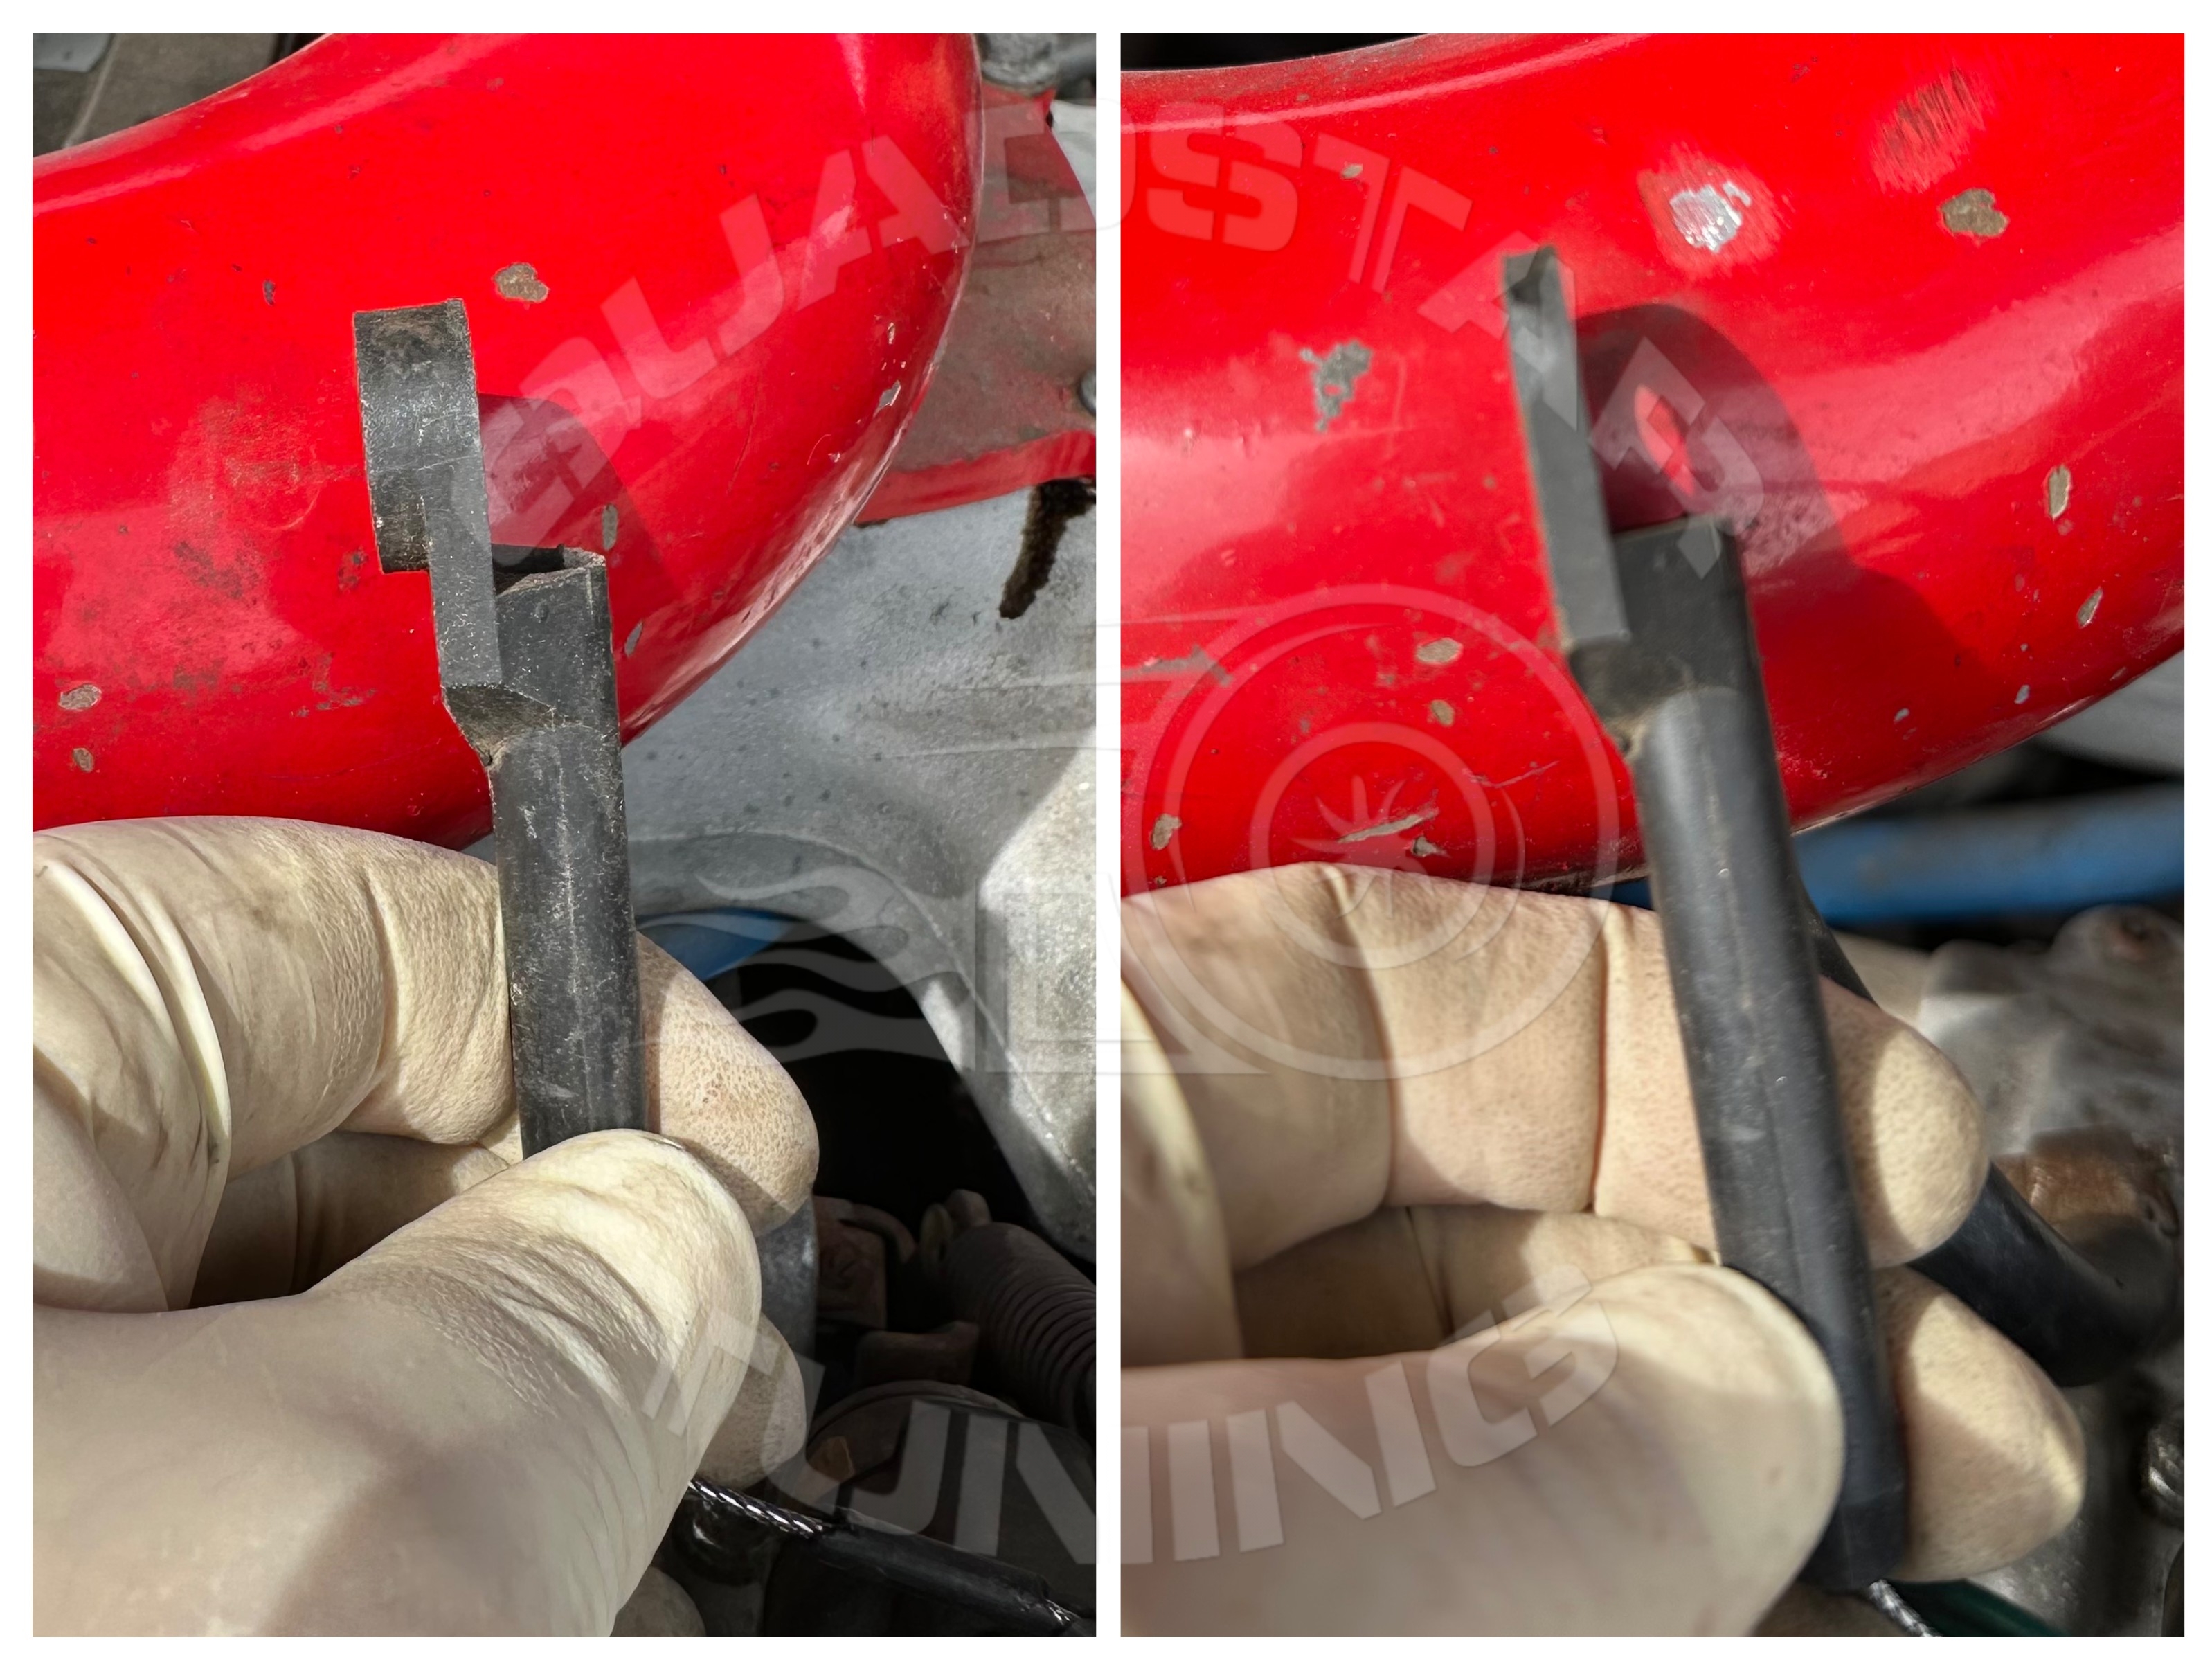
If you compare the two pictures below, you can see the modification required. The left image shows the stock cable end, while the right image displays the cable after I thinned it out a little to ensure it has clearance to fit back onto the shaft with the new end from the DB2 cable kit.
As shown below, this was the initial orientation of the cruise control cable end. Now, it needs to be flipped 180 degrees before being put back on the shaft.
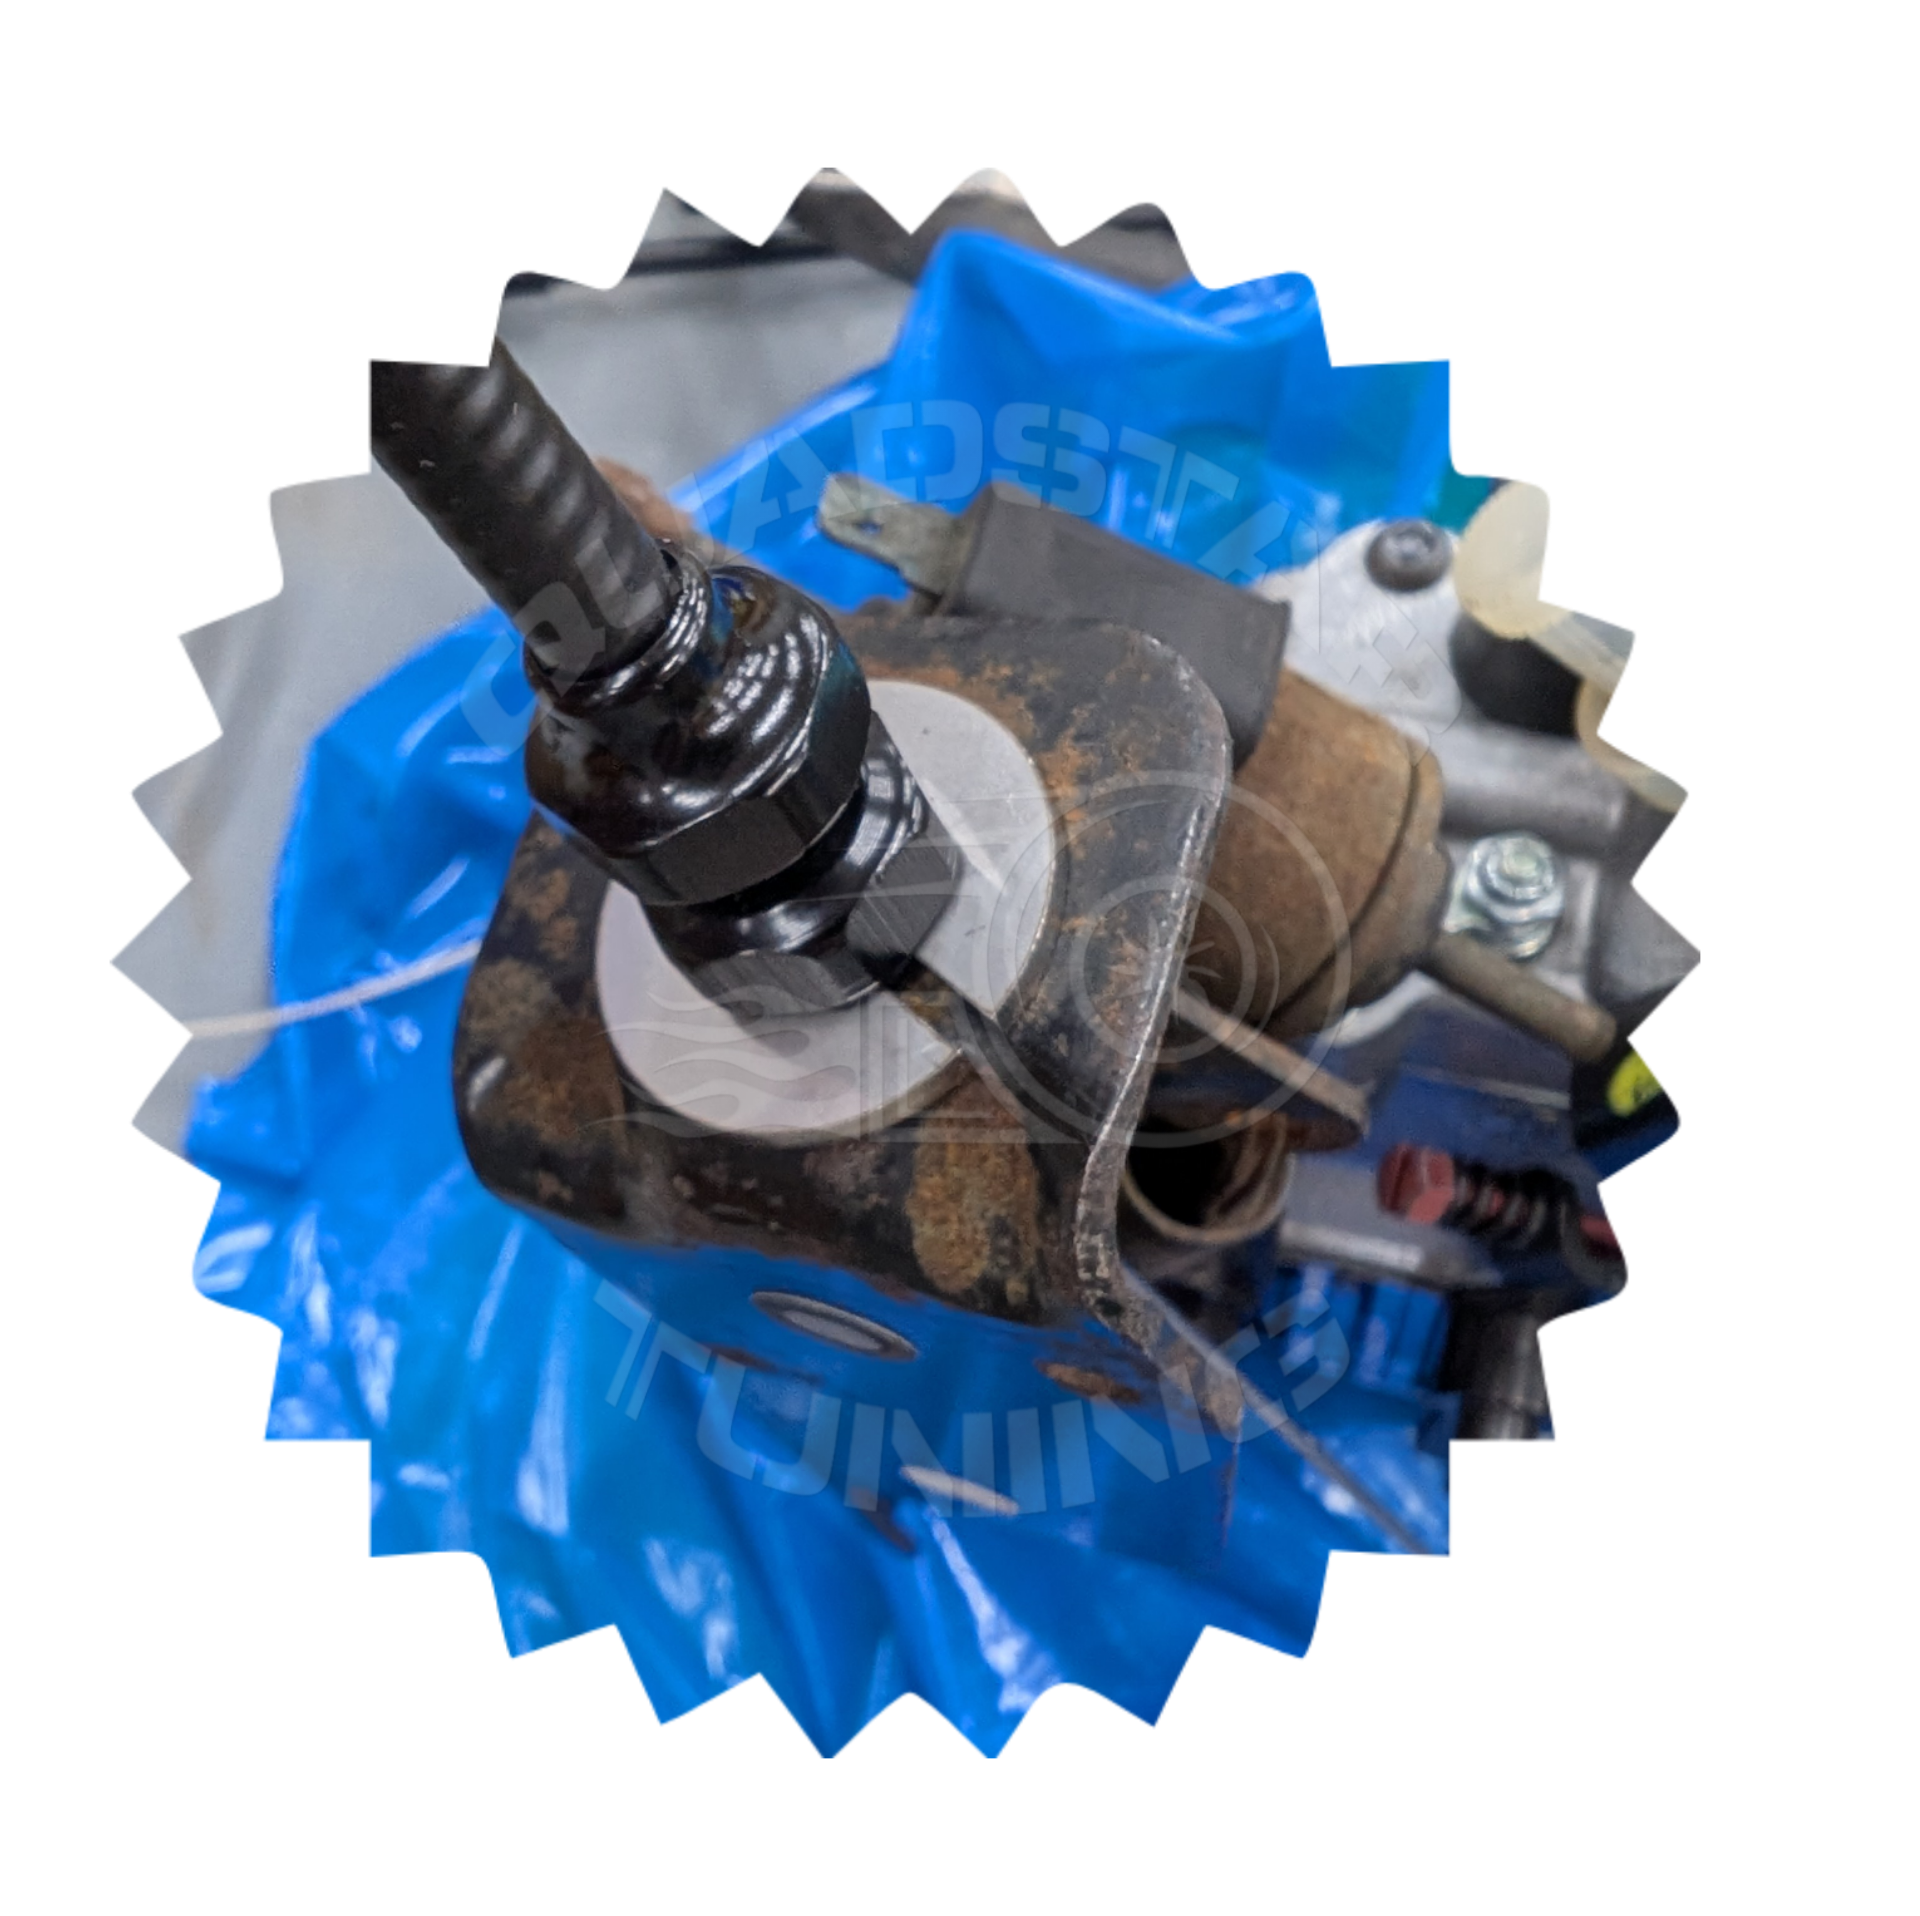
I prefer to start at the injection pump getting my new cable end installed on the throttle shaft and clipped in place
Installation
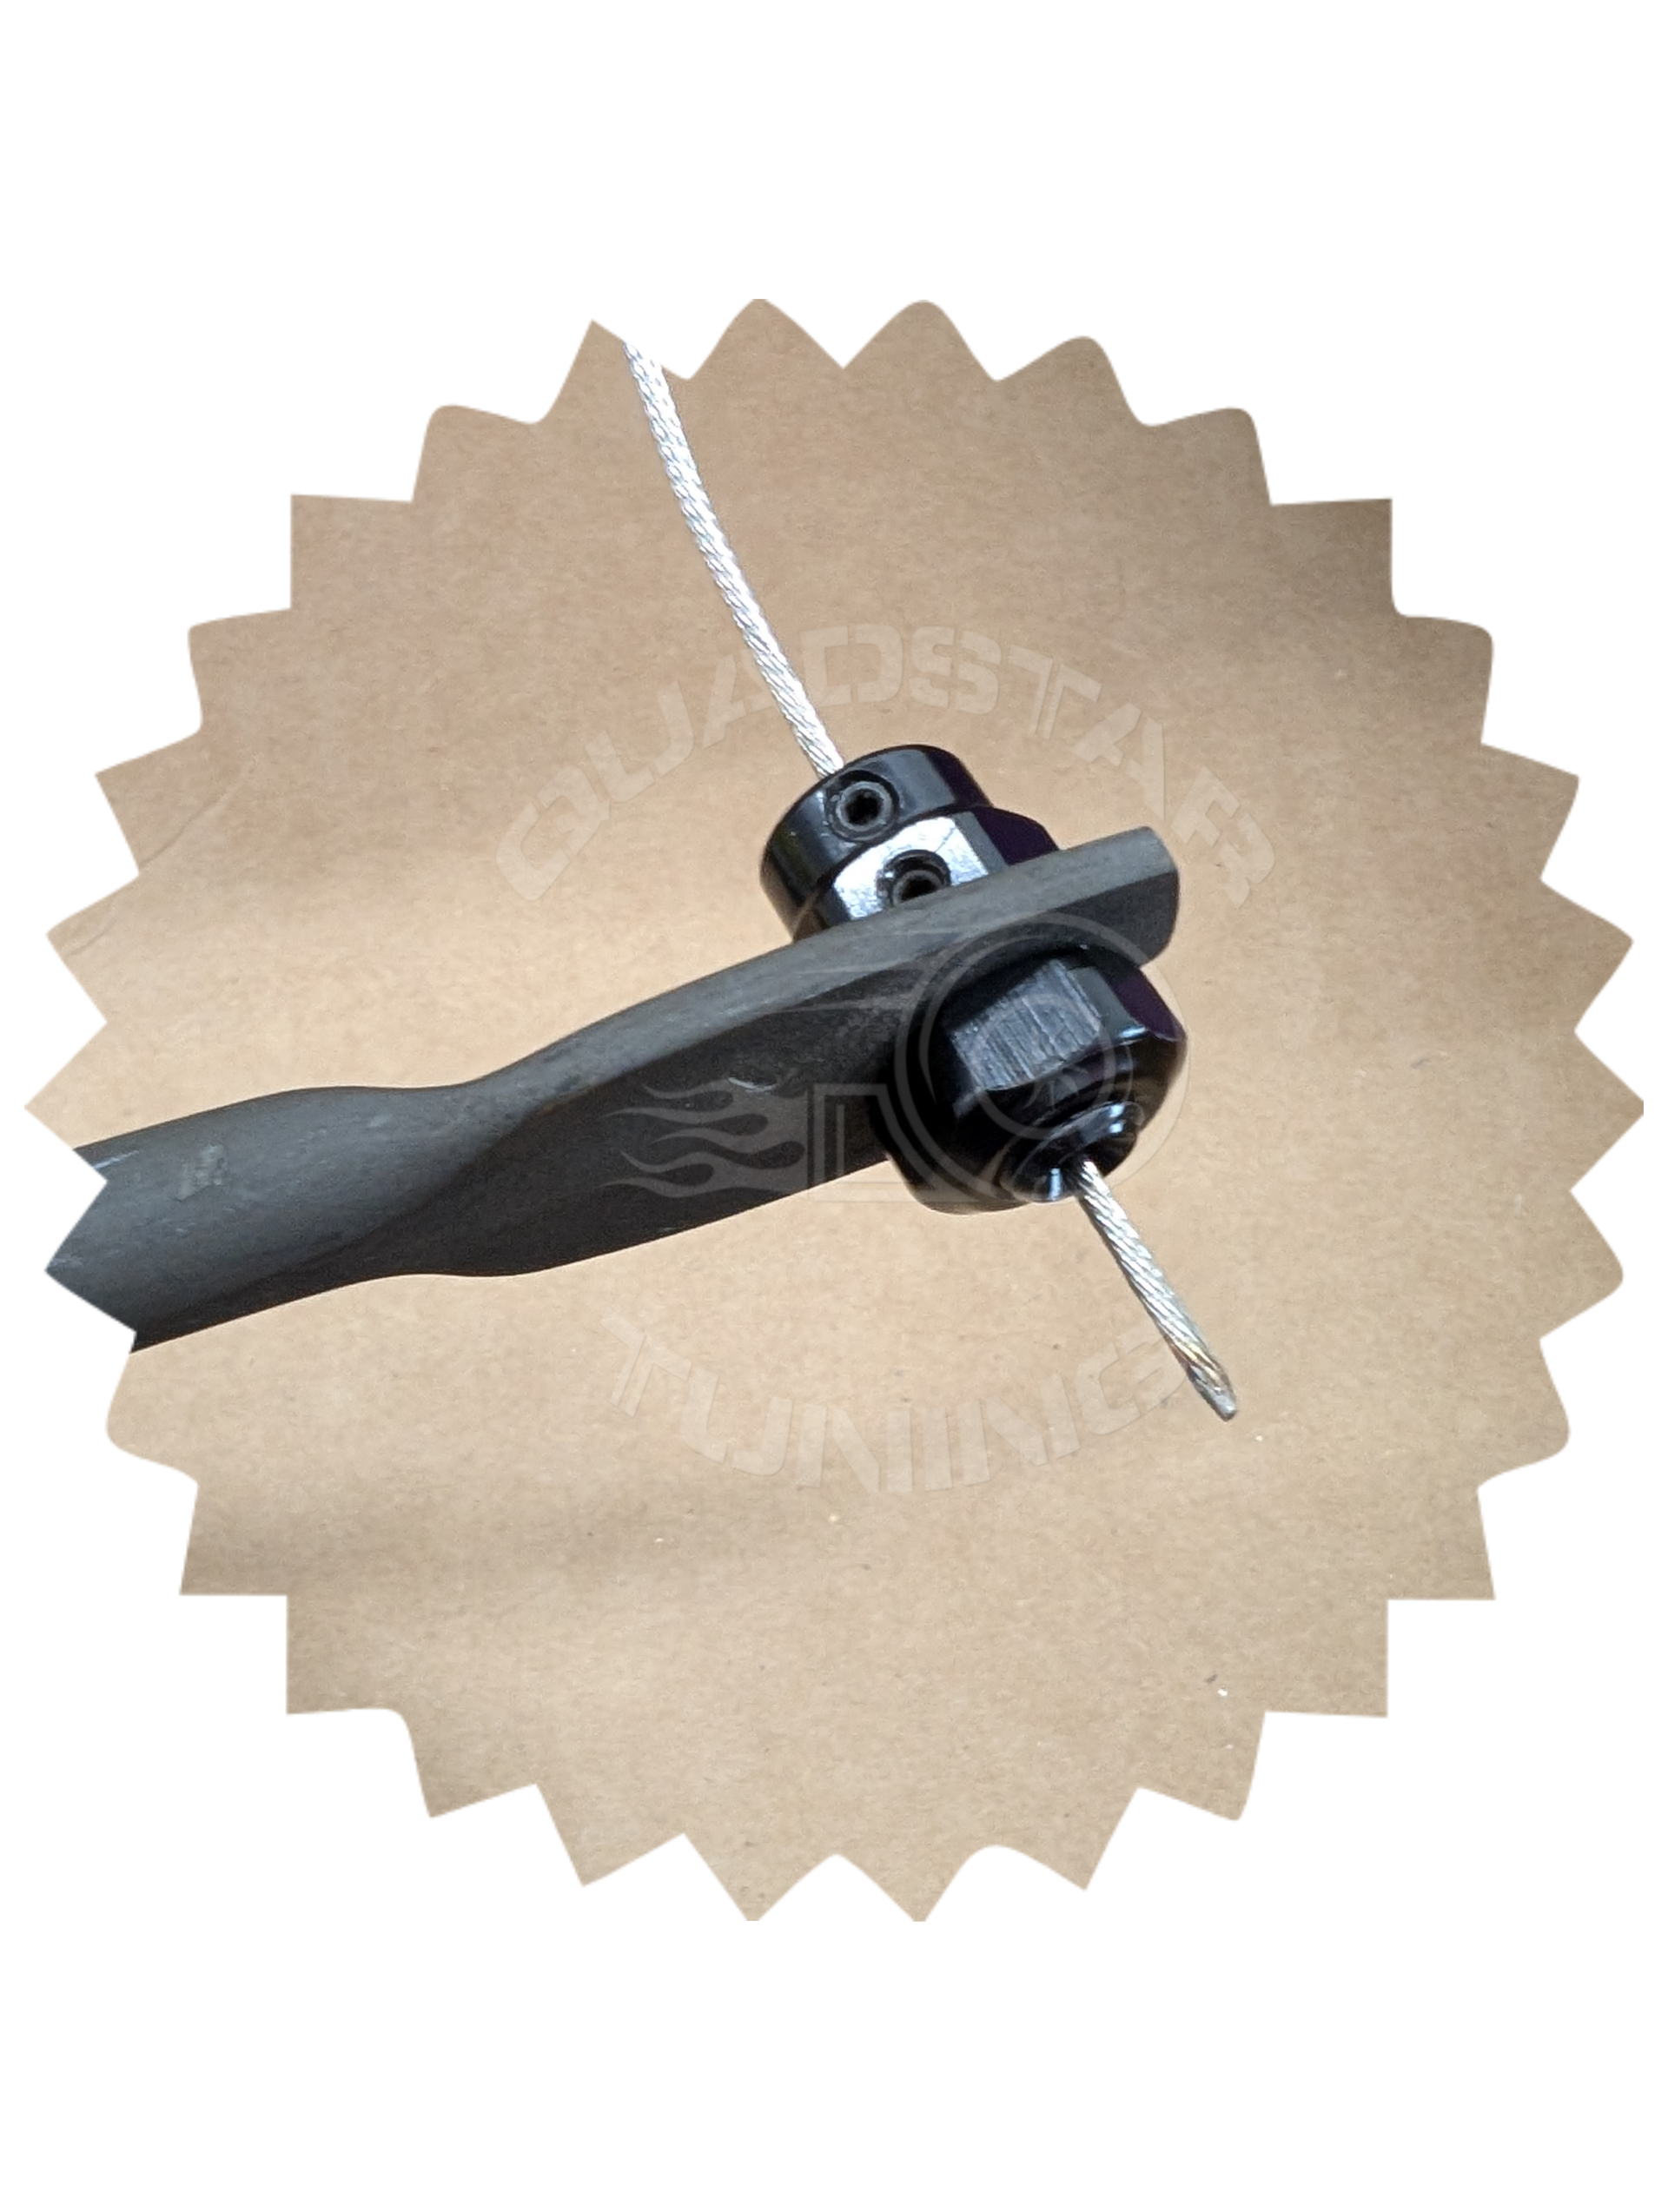
Connection at the throttle shaft
Connection at the throttle shaft is essentially the same with and without cruise control and should be the first step
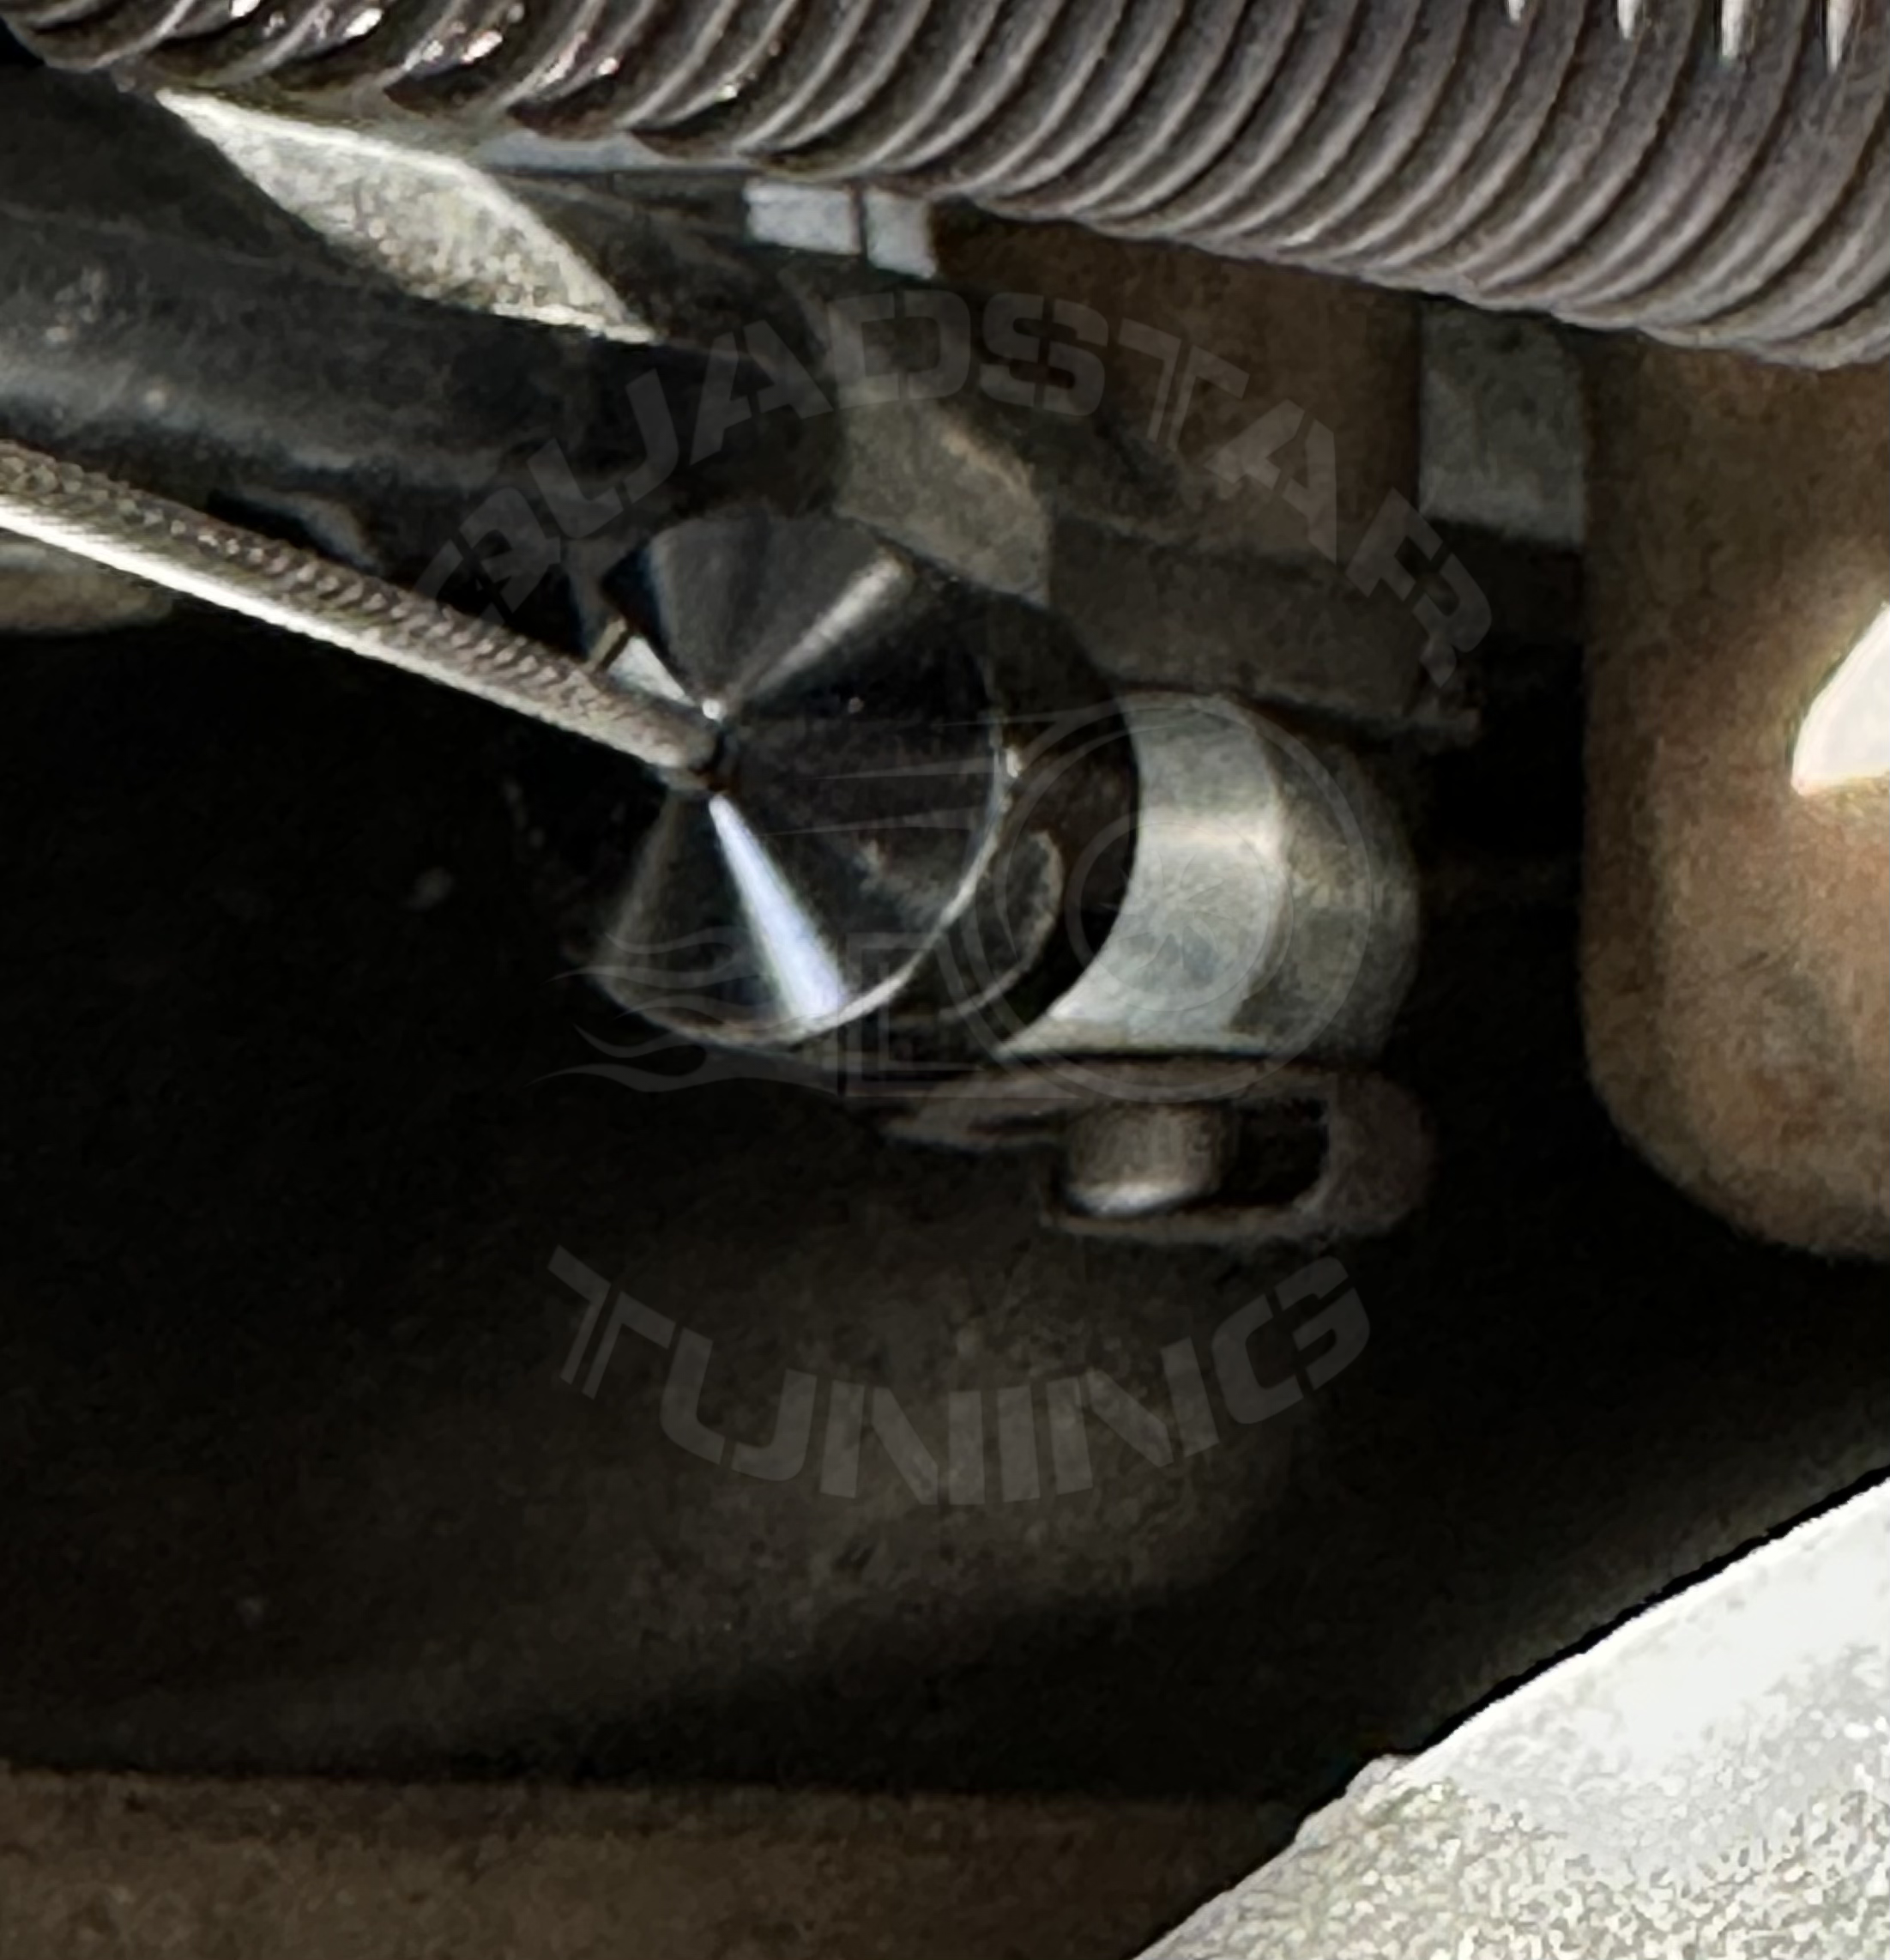
Connection at the injection pump bracket
A slight modification is required on SOME throttle brackets.
That would be to SLIT the bracket to allow the cable to pass thru the bracket. This prevents you from having to dis-assemble the tiny snap ring or anything else on the new cable to attach it to the throttle bracket. The end eyelet and billet threaded nuts may be too thick to pass thru the square hole in the bracket and is why slitting it with a saws all or cutoff wheel will make much quicker work of the job
Insert thru firewall
Dis-assemble the cable to remove the jam nut from the throttle cable end of the cable. You'll need to re-insert this nut and thread it on to attach the cable to the firewall with our stainless split washers. See following photos for reference.
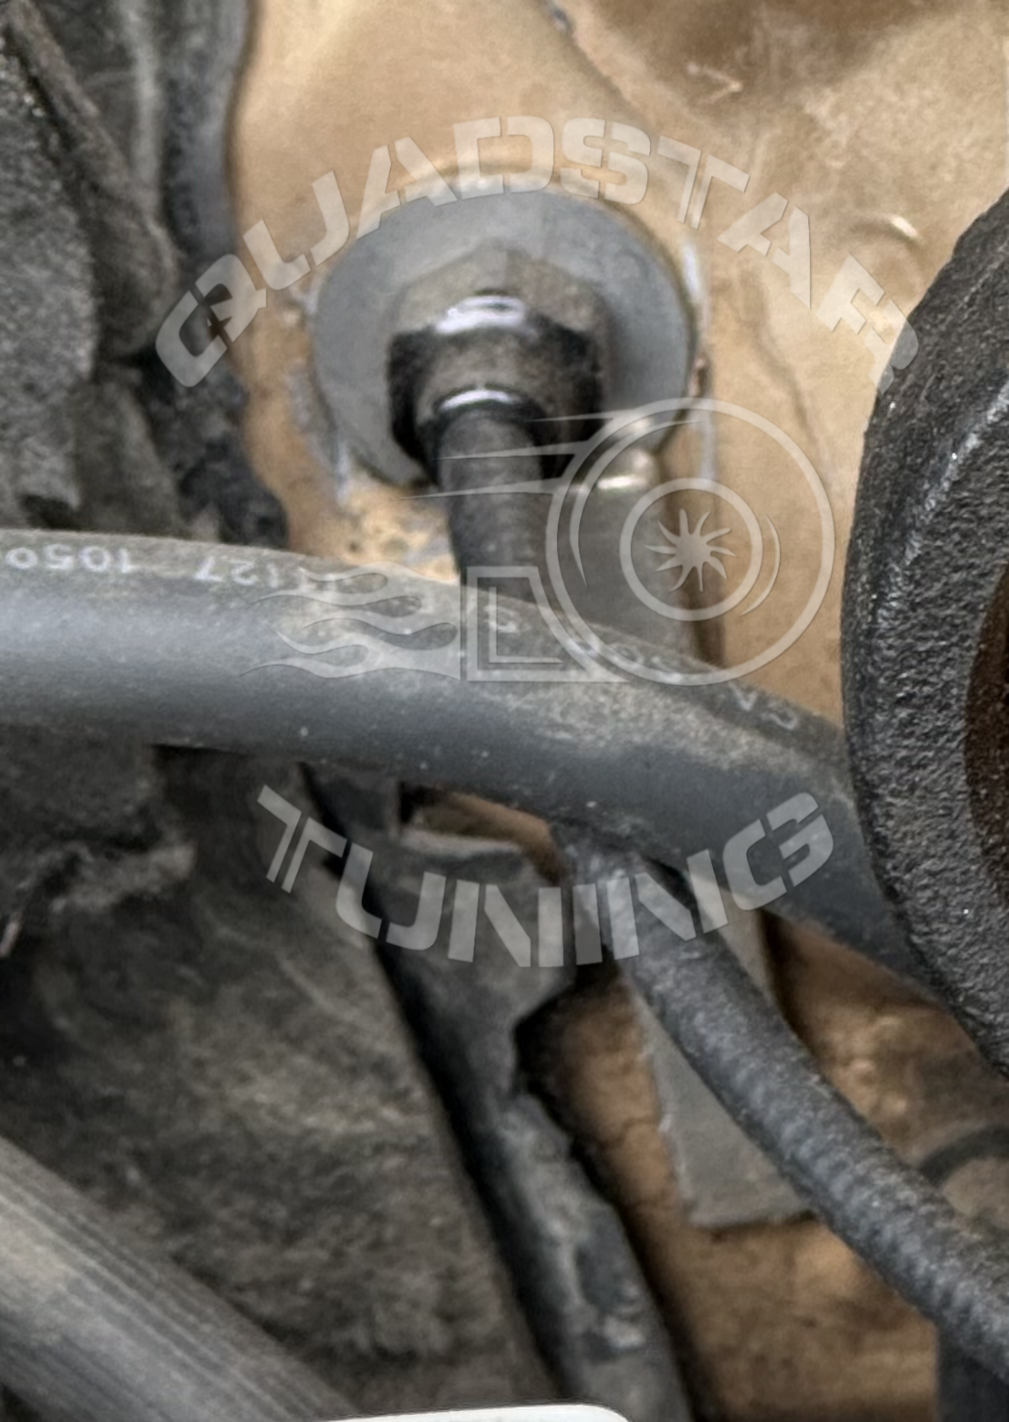
Insert Cable thru firewall. Add a split washer on both sides
The stainless split washers replace the plastic clips used on factory cables and fill in around the square hole. The new cable uses a threaded nut and these washers to retain it where the factory cable used to clip on.
this is the only part you could really use a buddy to help out but I managed to get it done just fine with the aid of a magnet to hold the washer/cable to the fire wall
Re-install the jam nut and tighten. Again, it may help to have a second set of hands to hold the engine bay side of the cable while the nut is tightened on the inside of the truck
Connection at throttle pedal
I found it much easier to remove the three pedal bolts, allowing the cable end to be installed straight and minimizing the time spent upside down. once the cable end is attached you can put the 3 pedal bolts back in and make sure you are getting full throttle.
Simply use the set screws to adjust the cable as needed
You're all set!